Once a Quilter, Always a Quilter

I am often asked where I get my inspiration for my clocks. In many cases to answer is, “I honestly don’t recall.” But when it come to my quilting-themed designs, the source of the muse is obvious: quilting was my career for decades.
Even if that weren’t the case, quilts are such an incredibly rich source of color and pattern, that they sneak into many artists’ work.
A Simple Cuckoo Clock Design — Ya Right!

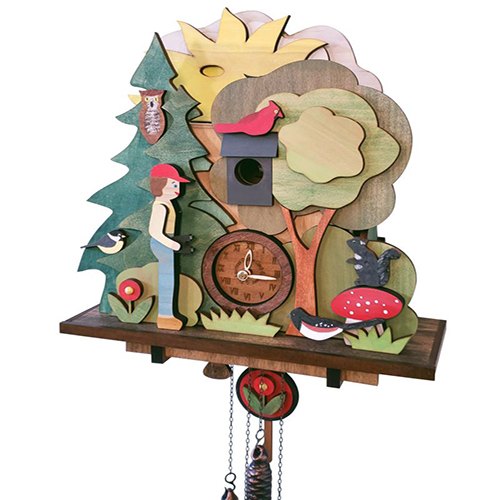
This was to be my fourth or fifth cuckoo clock in our line-up. With no animation as in the Birdwatcher Cuckoo Clock and being comprised of just wood, not a lineup of materials such as the bark and willow and shingles for the Hickory Flat Cuckoo Clock, I thought a simple wooden box, etched with the design, hand painted patchwork pieces, turned on point, would be a breeze.
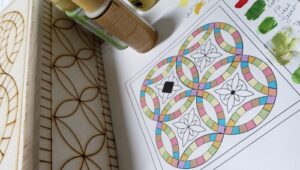
My vision was to paint the clock with a white background and colored patches, as in a typical Double Wedding Ring Quilt. Sure looked good on paper. But as things often go, it turned out not to be that easy.
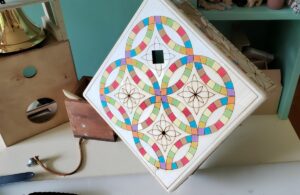
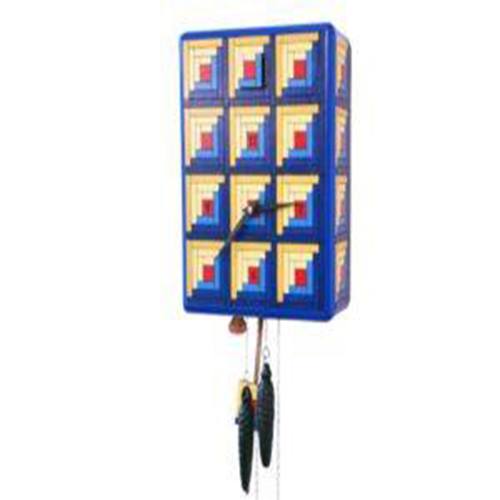
My first stab was extremely promising. It received tremendous interest in the Mobile Cuckoo Clock Gallery. But what had me was the same as that of the Log Cabin Cuckoo Clock: the tedious task of painting all those little shapes. It wasn’t that I minded doing it, it’s that it requires multiple layers of paint, so hours and hours of work. Even that wasn’t the problem. The problem was that even with that investment of time it still looked like a five year old’s crafts project. I simply couldn’t paint those little spaces neatly and smoothly.
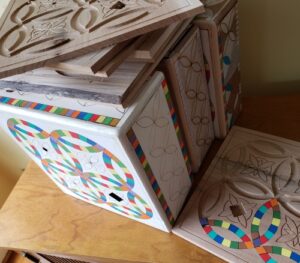
After running out of ideas the collection of failed attempts piled up in my office. I simply had to figure it out! I sought help from my woodworking buddies seeking ideas for a different approach.
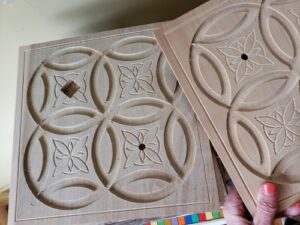
We came up with the idea of cutting the background of the front separately from the rings. That worked for the rings, put those points in the base tore terribly as they were cut. We tried different woods, tweaked settings… Still a no-go.
I proposed the idea of cutting it like a puzzle. Cut the bottom square of the front, cut all the patchwork shapes that comprise the quilt top of the front, paint them, then glue to the base. My buddies were a bit skeptical, but they hadn’t weathered the painting process. So we gave it a try.
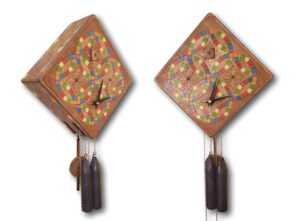
It was sooooooo easy to paint those pieces neatly. I glued the outer frame of the quilt top to the backing square and let it dry. Then I filled the inner area with glue and laid the puzzle pieces in. Wow! It worked! In my enthusiasm (and it was late at night as I wanted it done for a show) I didn’t get the layout just right; note the grain of the wood. The way we cut the pieces next time — as one complete quilt top rather than separate pieces — will eliminate the grain problem. As will me being careful and not distracted by my jubilance. So while not perfect, it worked!
The final clock with all of it’s corrections is in progress. I can’t wait to show it off!
To see the finished clock when it’s ready, subscribe to our newsletter:

As you know I love the Double Wedding Ring Cuckoo Clock, and love the way you changed it.
Thank you! Can’t wait to get the real, perfect finished one done.